This is for my friend's birthday. The stamp is from Imagination Crafts - Decoupage range. I stamped and coloured the image and then triple embossed it with clear powder to make a tile. The large butterfly was then stamped and glittered on acetate. The mat was cut on my Cricut. I love this card and was proud to give it to my friend who is also a fellow crafter so it had to be a good one!! lol


A double easel card using my Cricut New Arrival cart. The dp was from a really old CD I have from Bearly Mine.

A quick and simple get well card for our school cleaner using a free set of stamps from Cards and Papercraft magazine. I dug out my old Sakura pens to colour the flowers. The border is a Clarity corner which was in their sale.

Messing about with Sheena Douglass stamps and distress inks and my old H2O paints. I saw Sheena show this technique of using the the paints directly onto the stamp for the background and then spritzing it with water. The main image is embossed and painted directly with H2O's.

Another simple card using a cuttlebug folder, gems and a Kanban greeting.

This was a comission for my hubby's friend - using a Click, Print, Go, My Craft Studio CD. I buy these and hardly ever use them!! I used my Cricut for the name and numbers.

Back to basics on this one - it was a comission for a 60th Birthday and I was asked for pastel colours so I fetched out one of my under used medallion stamps. I remember when these were really popular. This one is so pretty though, it has a lovely rose design. I simply embossed it with gold wow powder.

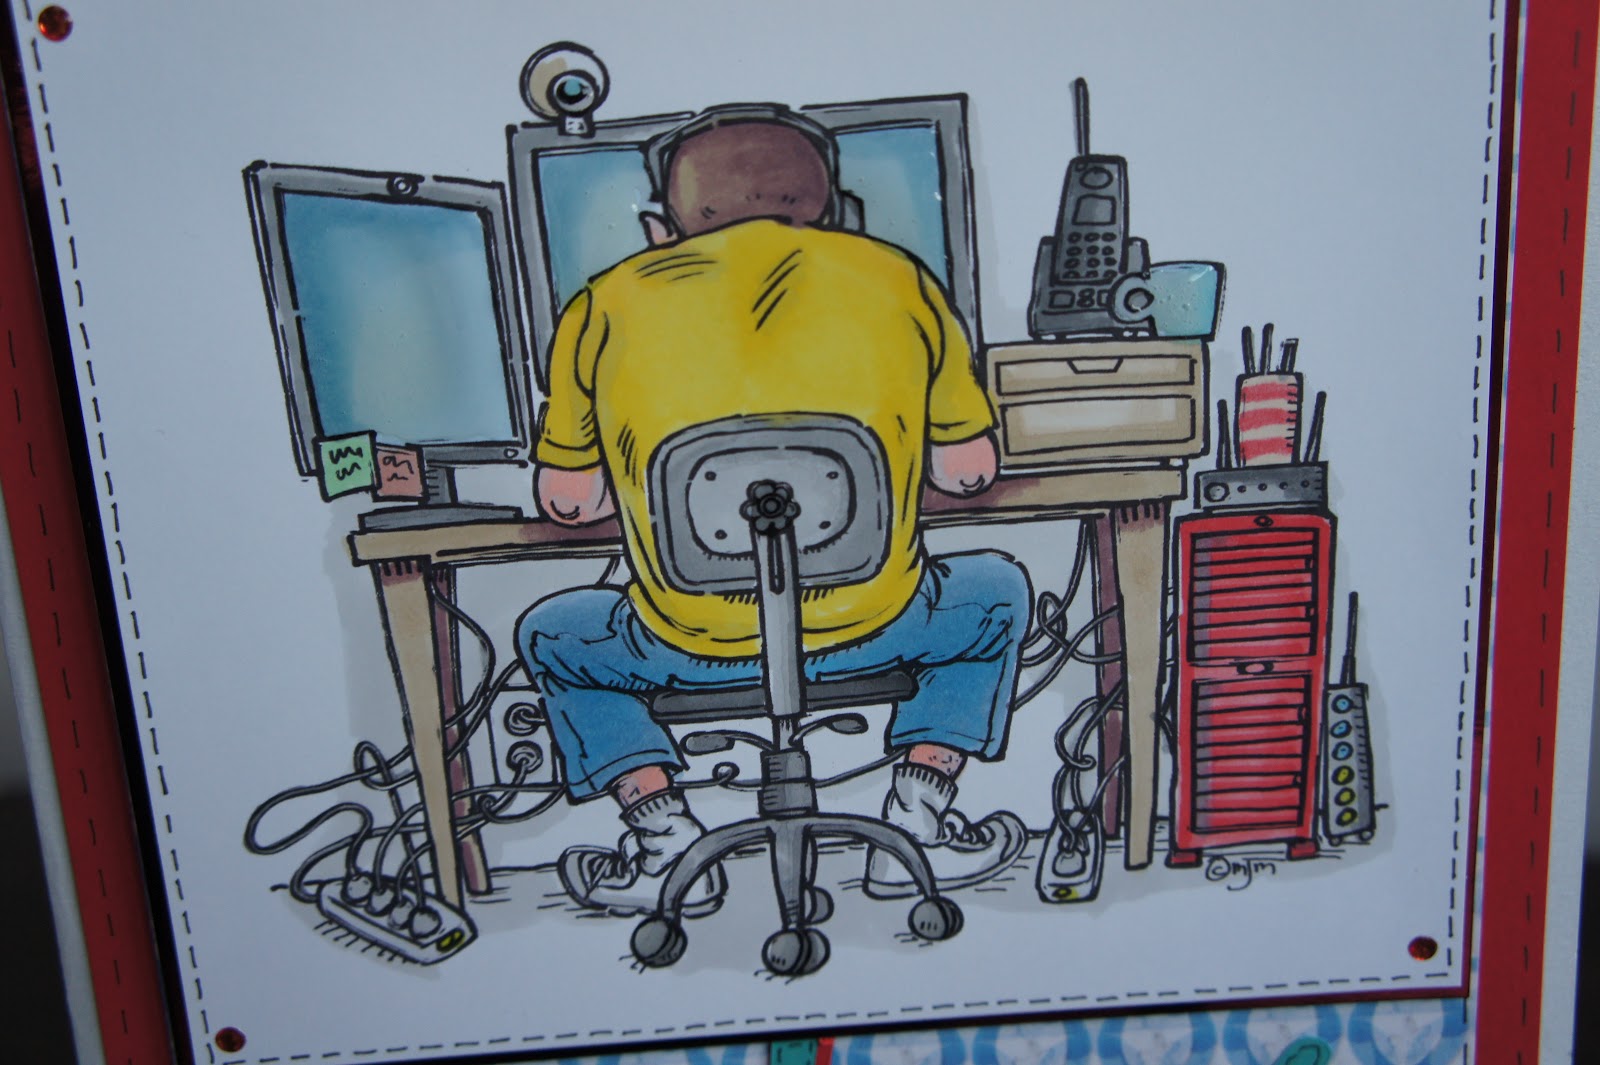
A large A4 card for our school computer tech who is poorly at the moment. I love this image as it's him to a 't'. It's a Mo Manning digi called Computer Guy which I coloured with Promarkers. Being a digi I could make it large enough to go on an A4 card. I used my Cricut for the greeting. I made the dp from our school logo using a Card Creations Master Card Builder CD.

Cricut and Sizzix come together for this comission for a friend's parent's anniversary.

Another friend's birthday and another set of Imagination Crafts stamps, a Prima butterfly and Spellbinders dies. The dp is embossed with gold flourishes and I added a trail of gems.